


Deploy your Vue Js application to Netlify in 4 Steps
When you are ready for your Vue.js application to run live on the Internet, you have some options for deployment, from Heroku to Firebase and Netlify. In this tutorial, we will see how simple it can be to deploy your Vue application with Netlify.
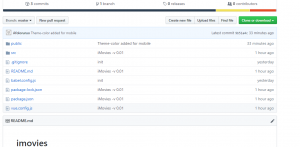
Step 1: Create a github repository for your app.
Because Netlify offers deployment from Github, Bitbucket or GitLab, we can use one of these version tools to connect our application to Netlify. To do it with Github, we will simply create a new Github repository for our application and push our code to it.
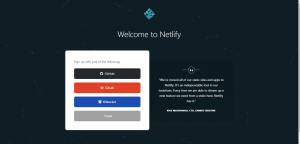
Then we’ll go to Netlify.com and create a free account.
Step 2: Creating a new site with Netlify
On the Netlify home page, we’ll click Sign up, and do so with Github.
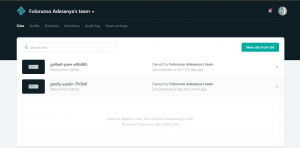
Step 3: Deploy your app from github
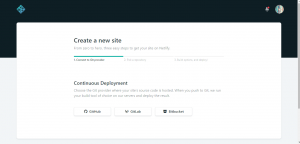
This will allow us to access the repository of our application. Once we have registered, we will be redirected to this Sites page;
Here, we’ll click New site from Git and select Github
Now that we have created our site, we can select our repo, then continue to the main settings.
Step4: Configure your App Settings
We’re almost ready to build our site. But first, we’ll configure our settings.
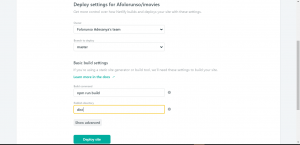
We need to make sure that our Directory is set to dist and our build command is npm run build. Then we can go ahead and click Deploy site. And Boom! With a push of this button, our site will be deployed live.
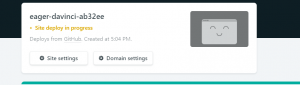
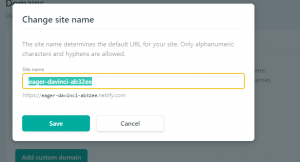
Okay so let’s change our app name from the default name that was generated for us, to do this we’ll click domain settings
…and select the three dots right in front of our app url

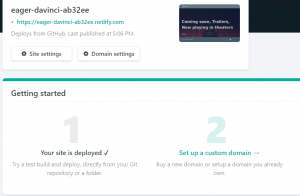
Then click Save and we are live!
Now, whenever we push to the master branch of our Github repo, a new version of our app will be automatically deployed via Netlify. Cool right?